Cut copper pipe cleanly with a tubing cutter
A tubing cutter gives copper pipe a clean, round, square end that a new shutoff valve or fitting can seal on. A hacksaw tends to leave a ragged, crooked cut that leaks later. The trick is patience: tighten the knob a little after each full turn instead of cranking it down. Before you start, make sure the water is off and the line is drained.


How a tubing cutter works, and why it beats a saw
A tubing cutter is a small C-shaped clamp with a hardened steel wheel on one side and two rollers on the other. The rollers hold the pipe centered. As you turn the cutter around the pipe, the wheel presses a groove into the copper. Tightening the knob a little after each turn pushes the wheel deeper until the pipe separates. Because the wheel follows its own groove, the cut usually comes out round and square to the pipe, which is what a fitting needs to seal.
The wheel doesn't remove metal the way a saw does. It pushes the copper aside, so a small lip, called a burr, curls into the inside of the pipe. Fine Homebuilding and the Copper Development Association both say to ream that burr out. Left in place, it narrows the pipe and makes the water swirl, and small chips can travel downstream and clog an aerator or valve. Cranking the knob too hard can also squeeze soft copper out of round, so a light hand matters.
Why copper cuts go wrong
It pours out mid-cut, and wet pipe won't solder.
Crushes the pipe oval and the wheel wanders.
The wheel spirals and leaves a slanted end.
Narrows the pipe and leaves chips in the water.
Needs a mini cutter or a cut in a better spot.
Galvanized steel needs a different cutter or a plumber.
| You notice | Likely cause | Start at |
|---|---|---|
| Water is still on or pipe is full | Shut off, open a faucet, drain | Step 1 |
| Unsure where to cut | Measure, allow fitting depth, mark around | Step 2 |
| Not sure how tight to set it | Wheel on the mark, knob just snug | Step 3 |
| Cut is slow, spiraling or the pipe dents | One turn, then about 1/4 turn tighter | Step 4 |
| Rough lip inside the cut | Ream the burr out | Step 5 |
| Ready to fit a valve or coupling | Clean, check square, test fit | Step 6 |
Let's fix it
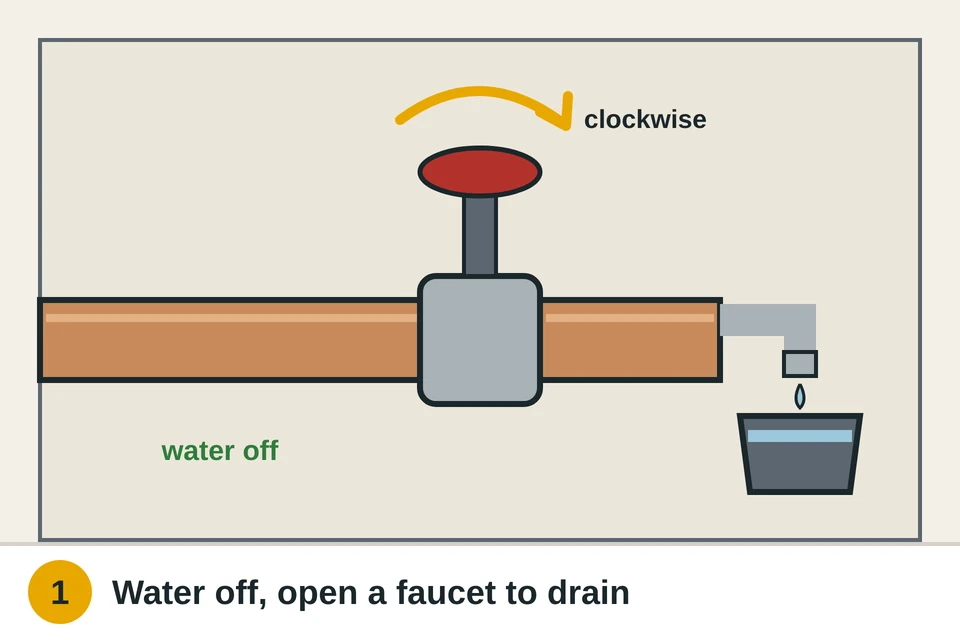
- Shut off the water and drain the lineFind the nearest shutoff that controls this pipe. For a sink or toilet supply, that may be the small valve under the fixture. If you're replacing that valve, close the next one upstream, or the main water shutoff. Turn the handle clockwise until it stops, or turn a lever a quarter turn so it sits across the pipe. Then open a faucet on that line, ideally one lower than the cut, and let it run until it stops. Open a faucet on an upper floor too, so air can get in and the line drains faster. Put a bucket and towels under the spot you'll cut. If water keeps flowing after a few minutes, the shutoff isn't sealing. Stop there and don't cut.
- Measure and mark where to cutMeasure twice, because a short pipe is hard to fix. Plan the cut on a straight section, at least an inch from any bend or old fitting, so the cutter's rollers sit flat. Copper slides into a fitting by a set depth. For 1/2 inch pipe that's often about 1/2 to 1 inch, depending on the fitting, so check the new valve's instructions or its depth gauge. Leave that much pipe sticking out. Wipe the pipe dry, then mark the cut all the way around with a fine marker. A line you can see on every side keeps you honest while you cut. Then check clearance. A standard cutter needs a few inches of room on every side to turn. In a tight spot, use a mini cutter (see Step 4).

- Open the cutter and set the wheel on the markTurn the knob counterclockwise to open the jaws wider than the pipe. Hook the cutter over the pipe with the rollers on one side and the wheel on the other. Slide it until the edge of the wheel sits right on your mark. Now turn the knob clockwise until the wheel just touches the pipe, then about another 1/8 to 1/4 turn so it bites lightly. It should grip, but you should still be able to rotate it with one hand. Look at the cutter from the side. The frame should sit straight across the pipe, not tilted. A tilted cutter makes the wheel walk in a spiral instead of tracking one groove. If the pipe is close to a wall, slip a scrap of thin cardboard behind it to protect the paint.

- Turn, tighten a little, and repeatSwing the cutter one full turn around the pipe. On the first turn, check that the wheel leaves a single thin groove right on your mark. Then tighten the knob about a quarter turn and make another full turn. Keep going: one turn, a quarter turn of the knob. Expect several turns before it separates. Support the far end with your free hand so it doesn't drop or kink. Don't crank the knob hard to go faster. That can flatten soft copper into an oval that won't seal in a fitting. In tight spots, a mini cutter works the same way, with a small thumb knob. It takes more turns, and you may need to swing it back and forth in partial arcs.

- Ream the burr from the inside edgeLook into the cut end. You'll usually see a thin lip of copper curled inward. Most tubing cutters have a fold-out triangular reamer on the frame. Swing it out, put the point into the pipe end and twist the cutter back and forth with light pressure. Stop when the inside edge is smooth and the opening looks as big as the rest of the pipe. Don't bevel the edge deeply; just remove the lip. Point the pipe end down while you ream so chips fall out instead of in. A round file or a deburring tool works too. Ream the pipe that stays in the wall, and the cut-off piece if you'll reuse it. A burr left inside can narrow the pipe and send chips toward a faucet aerator.

- Clean the end, check it's square, then fitPolish the outside of the last inch or so with emery cloth or a fine abrasive pad until it shines. A compression nut, push-to-connect fitting or solder joint needs clean, smooth copper. Run a fingertip gently around the outside edge to feel for a lip, and remove it with a file. Then check the cut. Hold a small square or a straight card against the end. The end should be flat, with no gap on one side. Slide the new valve or fitting on to test the fit; it should go on straight without forcing. Wipe away chips and wash your hands after handling copper. Follow the fitting maker's steps to finish. Then turn the water on slowly and watch the joint for a few minutes. A shutoff valve guide or the valve's box covers the install.

Watch it done
- The pipe end is round, with no flat spot or dent
- The inside edge is smooth and the opening isn't narrowed
- A square or card sits flat across the end with no gap
- The fitting slides on straight and the joint stays dry with the water back on
If it leaks or goes wrong
If a new compression or push-to-connect fitting drips, the cut end is often the reason: a slant, a dent, a burr or a scratch where the seal sits. Turn the water off, take the fitting off as its instructions say, and recut a little farther back if there's room. Our guide to a leak under the sink helps you find exactly where water is coming from.
If the shutoff wouldn't close fully, don't keep cutting with water trickling in. A main valve that sticks or drips can often be worked gently, and our main water shutoff guide shows how. If it still won't close, a plumber or the water utility can shut it off at the street.
If the pipe banged or shook when you turned the water back on, air in the line is usually the cause and clears in a minute with faucets open. If it keeps banging, our guide to pipes banging (water hammer) explains the fixes.
What a pro typically charges (a rough estimate; prices vary by area): A plumber typically charges about $150–$350 to replace a fixture shutoff valve, more for soldered work or galvanized pipe. A tubing cutter costs about $10–30.
Find a plumber near you