Replace broken or bent drawer slides
A drawer that drops, grinds or won't stay on its track usually has a bent or worn metal slide. Replacing the pair is a moderate job you can do with a screwdriver, a tape measure and a scrap of wood. The key is buying the right slide: the same type, the same length and one that fits the gap beside the drawer. Most side-mount ball-bearing slides come apart with a small lever, so the drawer lifts out without tools. Measure first, then buy, then install one side at a time.


How a metal drawer slide works
A side-mount ball-bearing slide has two main parts that nest together. The cabinet member screws to the inside of the cabinet or to a rear bracket on face-frame cabinets. The drawer member screws to the side of the drawer box. Rows of small steel balls roll between them, so the drawer glides out and back. A small plastic or metal lever on each slide lets you separate the two members, so the drawer lifts out. Knape and Vogt's instructions for one common slide say to press the disconnect lever to separate the members. They also call for at least 1/2 inch of side clearance on each side.
Other types work differently. Bottom-mount roller slides, sometimes called epoxy slides, use a nylon wheel at each end and carry the drawer on its lower edges. Undermount slides hide under the drawer box and often include soft-close. When a slide bends, usually from overloading, a kid climbing on the drawer or a hard slam, the members bind and the drawer sags, grinds or drops off the track. Bent slides rarely straighten well, so replacing the pair is usually the lasting fix. Replace both sides together so they match.
Why a drawer slide fails
Too much weight, or someone stood on the open drawer.
The drawer grinds, wobbles or catches partway.
The drawer drops at the back or front.
The slide pulls loose from particleboard.
A past repair used a slide that never fit.
Face-frame cabinets lose support at the back.
| You notice | Likely cause | Start at |
|---|---|---|
| Not sure the slide is the problem | Remove the drawer and inspect | Step 1 |
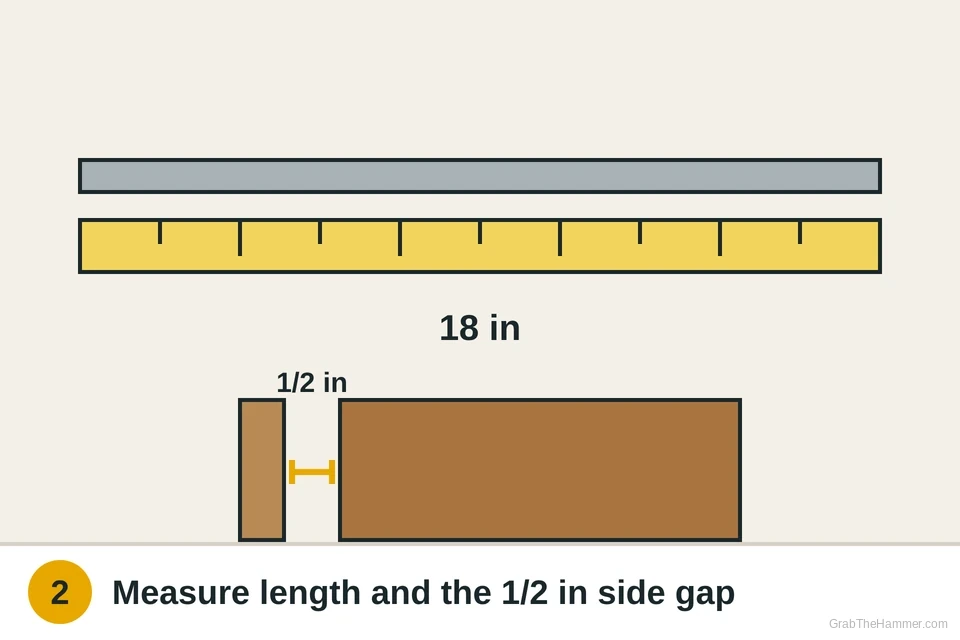
| Ready to buy slides | Measure length and side gap | Step 2 |
| Old slides still in place | Remove them; fix stripped holes | Step 3 |
| New slides in hand | Mount the cabinet members | Step 4 |
| Cabinet side done | Attach the drawer members | Step 5 |
| Drawer rubs, sags or won't close | Test and adjust | Step 6 |
Let's fix it
- Remove the drawer and confirm the slide is badEmpty the drawer. Pull it out until it stops. Look along each side for a small lever, often black plastic, near the middle of the slide. On many slides you push one lever up and the other down at the same time, then pull the drawer free. Some bottom-mount roller slides lift out instead: raise the front of the drawer and pull. Now look closely at both slides. A good slide runs straight, rolls smoothly by hand and has all its balls. A bad slide is kinked, twisted or rough, or has a broken roller. If both slides look straight and only the screws are loose, tighten them and stop here.

- Identify the type and measureMatch the new slides to the old ones. Side-mount slides sit on the drawer sides. Bottom-mount roller slides run along the lower edges and have white or nylon wheels. Undermount slides hide beneath the drawer. Measure the old slide end to end when closed, or measure the drawer box from front to back. Side-mount slides are often sold in 2-inch steps, such as 16, 18, 20, 22 and 24 inches. Pick the size that matches the old one. Then measure the gap between the drawer side and the cabinet opening. Many side-mount slides need 1/2 inch on each side. Check the load rating on the package; 75 to 100 pounds is typical for kitchen slides.
- Remove the old slides and fix stripped holesUnscrew the cabinet member from inside the cabinet; a Phillips screwdriver usually fits. On face-frame cabinets, also unscrew or unclip the rear bracket at the back. Then unscrew the drawer members from the drawer sides. Keep the screws in a cup. Look at each hole. If a screw spun without tightening, the hole is stripped. In particleboard or plywood, glue a wooden toothpick or a short dowel into the hole, let it dry as the glue label says, and trim it flush. You can also shift the new slide slightly so its screws land in fresh wood. If the particleboard is crumbling or swollen from water, stop; the cabinet side may need a patch or a pro.

- Mount the cabinet membersPress the release lever to separate each new slide into its two members. The drawer members are often stamped L and R. Hold the cabinet member against the cabinet side where the old one was. Set its front edge flush with the face frame, or set it back as far as the instructions say for frameless and inset cabinets. Rest it on a straight scrap of wood or plywood cut to the right height, so it sits level without measuring twice. Drive one screw in a slotted hole first, check level, then add the rest. On face-frame cabinets, attach the rear bracket to the back of the cabinet so the slide runs level.

- Attach the drawer membersSet the drawer upside down or on its side on a soft surface. Place the drawer member on the drawer side with the correct hand, usually stamped L or R. Line its front edge up with the front of the drawer box, behind the drawer face, or as the instructions show. Keep it parallel to the bottom edge of the drawer. A quick way is to mark a line at the same height on both sides. Drive screws in the slotted holes first so you can adjust later. Repeat on the other side. Before the drawer goes in, check that the ball cage in each cabinet member is pulled to the front; on many slides it must be.

- Slide it in, test and adjustHold the drawer level, line both drawer members up with the cabinet members, and push in gently. You may feel a small click as they engage. Open and close it several times. It should roll smoothly, close fully and sit even with its neighbors. If it rubs or the face is crooked, loosen the screw in a slotted hole, nudge the slide up, down, in or out, and retighten. When it runs right, add screws to the round holes to lock the position. If you chose soft-close slides, push it gently and let it pull itself shut. Load it up gradually and check again.

Watch it done
- The drawer rolls smoothly out and back
- It closes fully and the face lines up with its neighbors
- It doesn't sag or drop when fully open
- Every screw is snug, including the round locking holes
Still binding? Check that both slides match in length and the side gaps are even.
If it comes back
If the drawer drifts open or won't stay shut, the cabinet may be out of level, or the slides may be set slightly downhill. See the guide for a drawer that won't close for adjustment tips.
If screws keep pulling loose, the holes are worn. Fill them with glue and wood as in Step 3, or see the guide to fixing stripped hinge screws; the same method works for slides.
If the drawer box itself is coming apart or the bottom sags, new slides won't fix it. See the guide to fixing a drawer bottom.
What a pro typically charges (a rough estimate; prices vary by area): A handyman typically charges about $75–$200 to replace slides on one or two drawers, plus parts.
Find a handyman near you