Replace a damaged vinyl plank
You can replace a single damaged vinyl plank without pulling up the whole floor. If it's near a wall, take off the trim and unclick the rows until you reach it. If it's in the middle of the room, cut the plank out, trim the locking edges off a new one, and glue it in place. Both ways take a matching plank, so start by finding one. One bad plank doesn't mean a new floor.

How vinyl plank floors are put together
Most luxury vinyl plank (LVP) floors are floating: the planks lock to each other with click edges along the sides and ends, and the floor rests on the subfloor without glue. A gap left at every wall, hidden by the baseboard or quarter round, lets the floor expand and shrink with the temperature. Other vinyl plank floors are glued down to the subfloor, and those come out differently.
Because floating planks lock to their neighbors on all four sides, you can't just pop one out of the middle. You either undo the floor row by row from the closest wall, or you cut the damaged plank out and set in a new one with its locking edges trimmed off. Rigid-core planks (often sold as SPC or WPC) are thicker and stiffer than flexible vinyl and need a saw or multi-tool to cut cleanly.
What damages vinyl planks
Furniture legs and dropped items.
Leaks swell or lift the planks.
Heat and spills mark the wear layer.
A plank that won't stay clicked.
| The damaged plank is | Best method | Start at |
|---|---|---|
| One to three rows from a wall | Unclick from the wall | Step 3 |
| In the middle of the room | Cut out and glue in | Step 4 |
| Stained or swollen from water | Fix the leak first | Step 2 |
| On a glued-down floor | Call a flooring installer | Call a pro |
Let's fix it
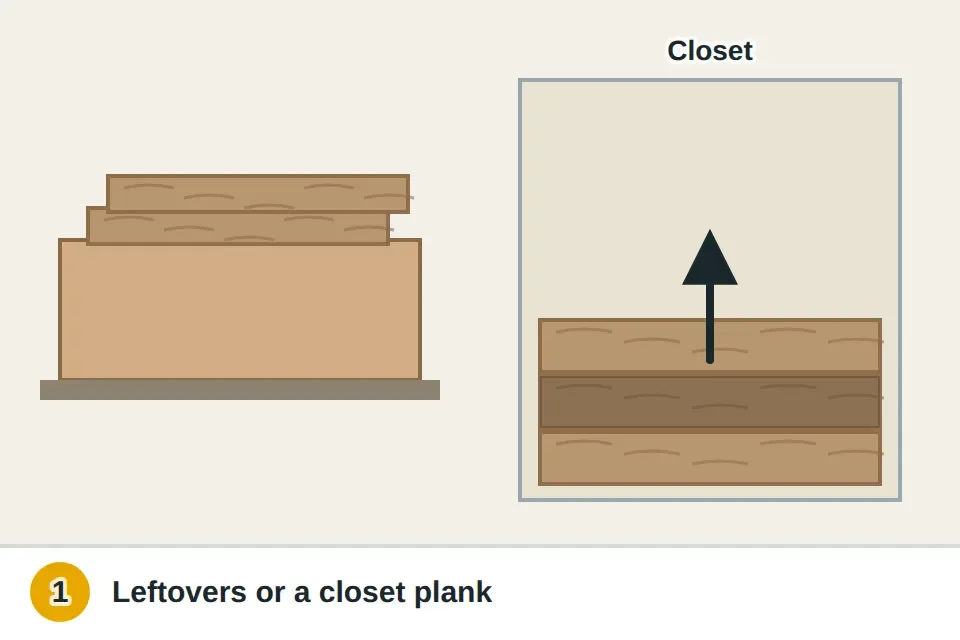
- Find a matching plankLook for leftover planks from the installation in a garage, attic or closet. If there are none, take a plank from inside a closet or under an appliance and replace that one with a close match. Let the new plank sit in the room for a day or two so it's at the same temperature as the floor.
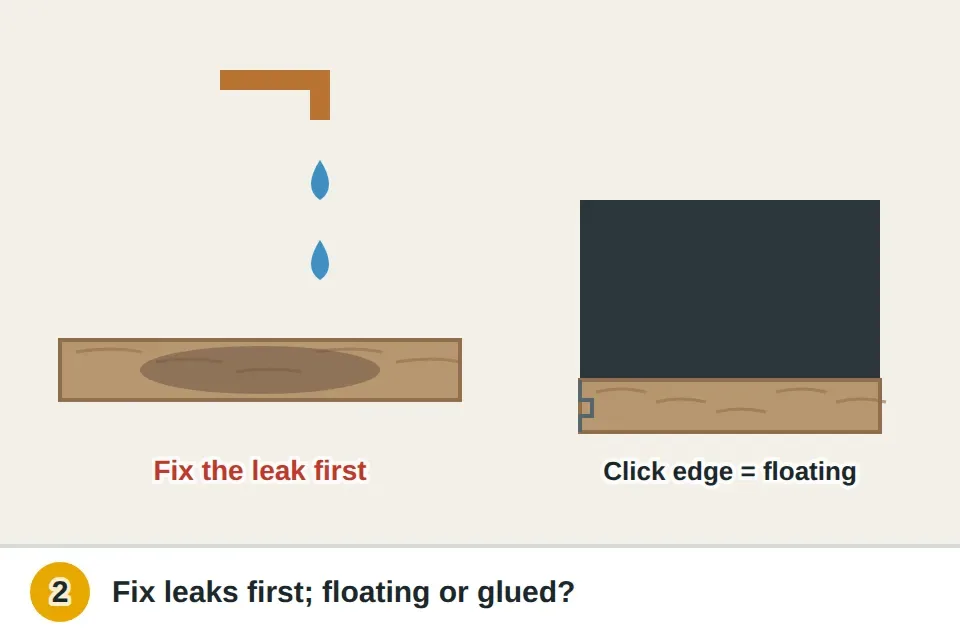
- Check why it's damaged and how it's installedIf the plank is warped, swollen or stained from water, find and fix the leak first and let the subfloor dry; replacing the plank won't help if water is still getting in. Then pull up a vent cover or look at a threshold to see whether the floor is floating or glued. Floating planks have click edges and no glue underneath.
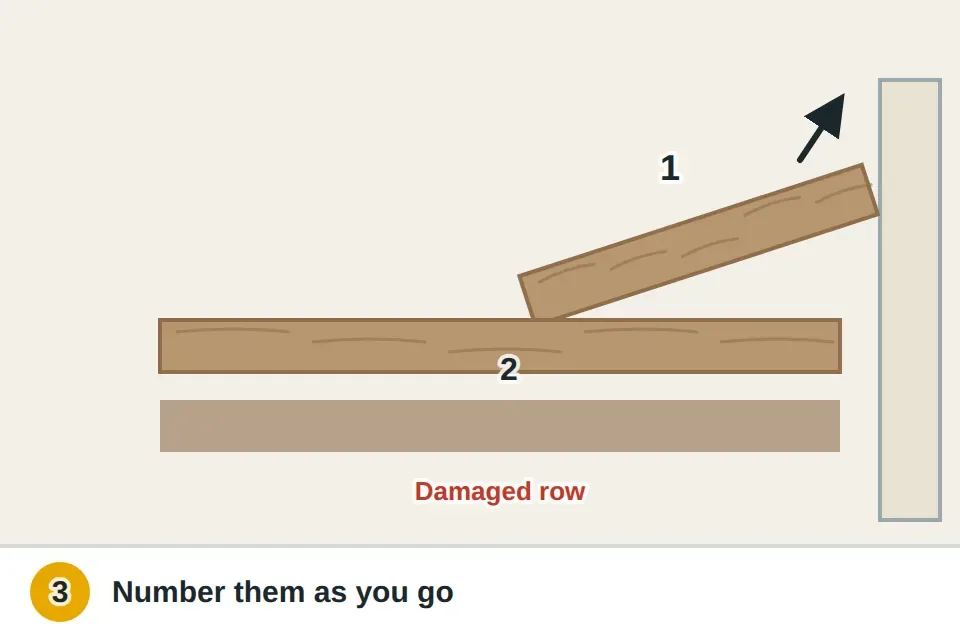
- Near a wall: unclick to itTake off the baseboard or quarter round along the nearest wall. Lift the edge of the first row and angle it up to unclick it, then work along the row, unclicking the ends. Number the planks on the back as you go. Keep going row by row until you reach the damaged plank, swap in the new one, and click everything back in reverse order.
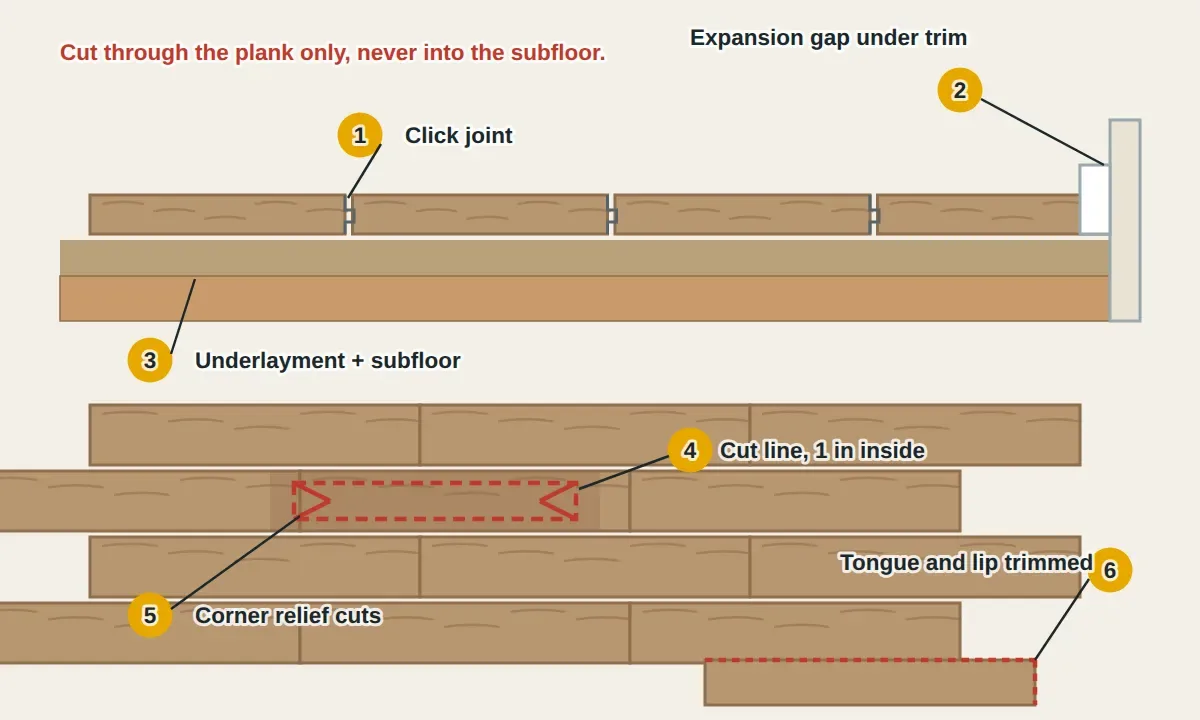
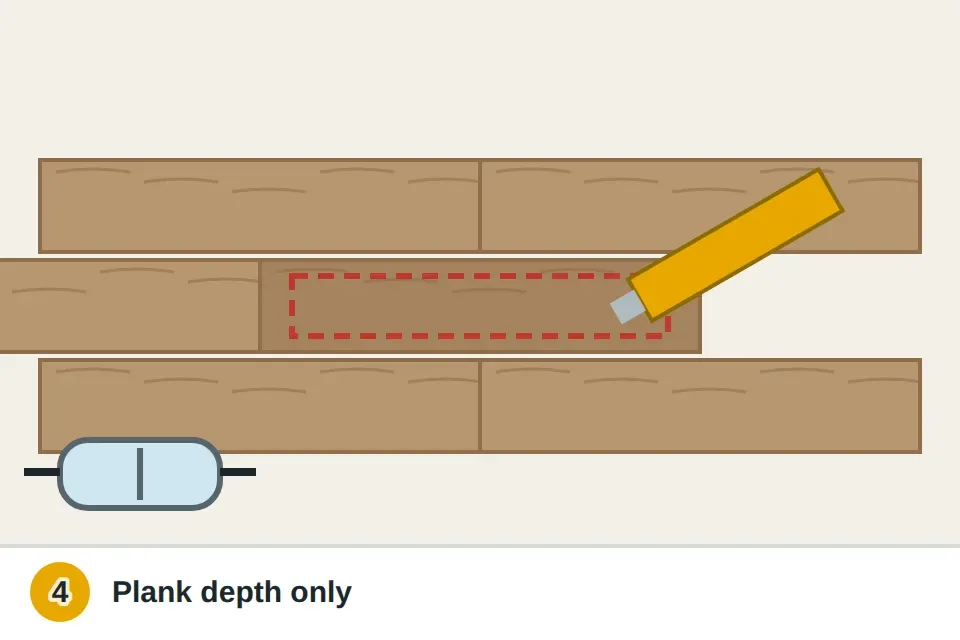
- In the middle: cut it outMark a rectangle about an inch inside the edges of the damaged plank. Set the multi-tool or saw just deeper than the plank, but not into the subfloor, and cut along the lines. Make a few angled cuts from the corners toward the center, lift out the middle, then work the edge strips free from the neighbors' locking edges. Wear safety glasses.
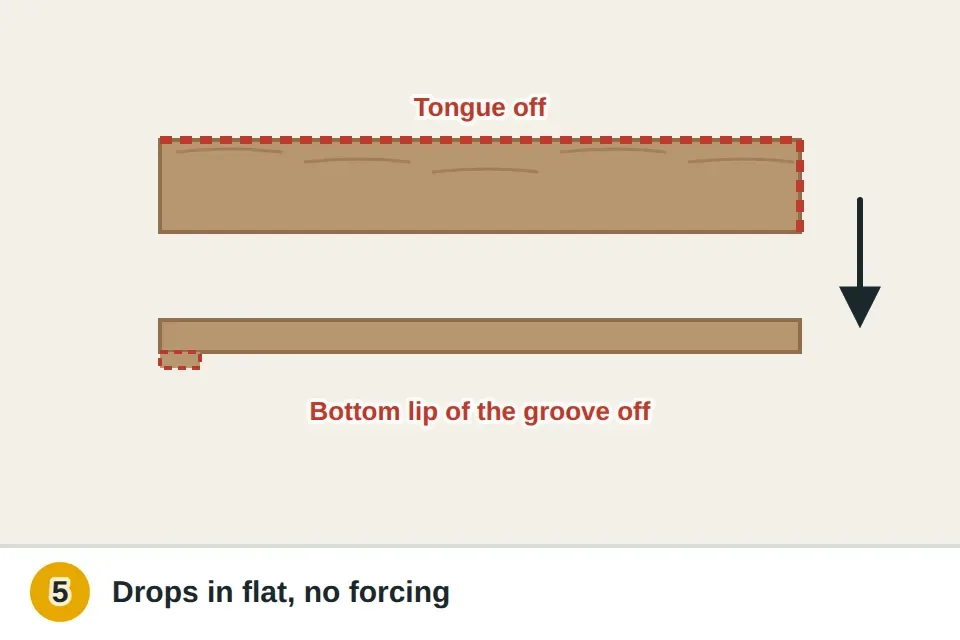
- Trim the new plankCut the locking tongue off one long side and one end of the new plank, and cut the bottom lip off the grooves on the other long side and the other end, so it can drop straight down into the opening. Test the fit. It should drop in flat without forcing. Vacuum the opening and the subfloor or underlayment.
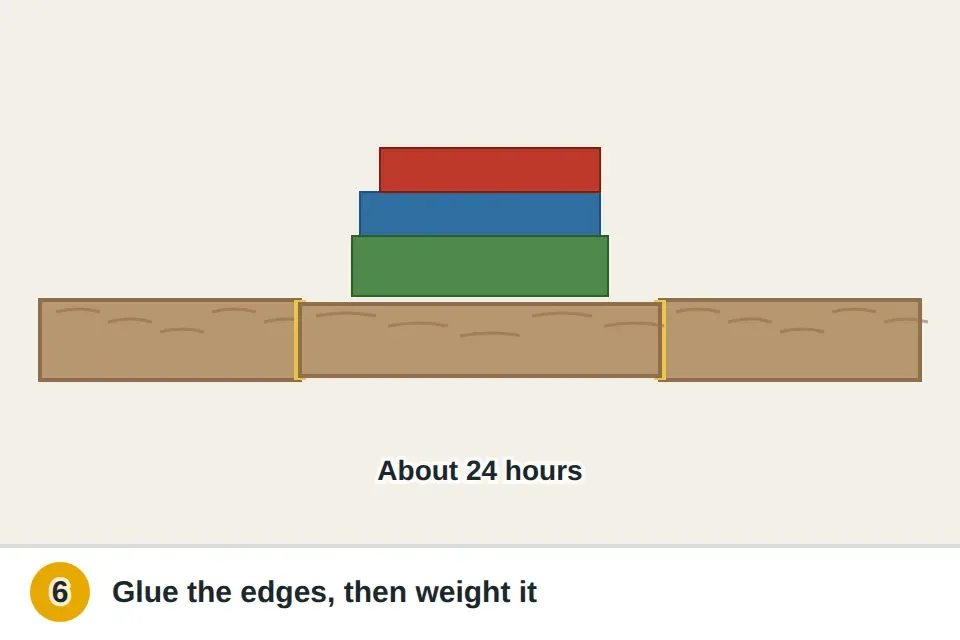
- Glue it inRun a thin bead of adhesive along the top of the neighboring planks' locking edges, not on the subfloor, so a floating floor can still move as one piece. Lower the plank in, press it flat, and wipe off any adhesive that squeezes out right away. Set weights on it and keep traffic off it for the time on the adhesive label, usually about 24 hours.
Watch it done
- The new plank sits flat and level with its neighbors
- No gaps at the edges
- It doesn't flex or click when you step on it
Sitting high or rocking? Lift it before the adhesive cures and trim the edges.
If it's gaps, not damage
If planks are separating at the seams instead, see the guide for closing gaps in laminate or vinyl plank flooring.
If the floor is lifting into a ridge, see the guide for a laminate floor that's buckling.
What a pro typically charges (a rough estimate; prices vary by area): A flooring installer typically charges $150–$400 to replace one or a few planks, depending on where they are and whether the floor has to be taken up to reach them.
Find a flooring contractor near youSomething else going on?
Vinyl plank replacement questions
Can you replace one piece of vinyl plank flooring?
Yes. Near a wall, unclick the rows to reach it. In the middle of a room, cut it out and glue in a new plank with its locking edges trimmed off.
How do you remove a vinyl plank in the middle of the floor?
Cut a rectangle inside the plank with a multi-tool or saw set to its depth, lift out the middle, then work the edge strips free.
What glue do I use to replace a vinyl plank?
The adhesive your flooring maker recommends, or a construction adhesive, applied on the neighboring planks' locking edges rather than the subfloor.
Where can I find a matching vinyl plank?
Check for leftovers from the installation, or take one from inside a closet and patch the closet with a close match.
Do I need to remove the baseboard to replace a vinyl plank?
Only if you're unclicking rows from the wall. For a plank in the middle, you cut it out from the top.