Fix a loose stair baluster that rattles or spins
A stair baluster that rattles or spins usually has one dry joint, at the top where it meets the handrail or at the bottom where it sits in the tread. You can usually fix it with wood glue, a thin shim, a finish nail and a hammer. First find which end is loose. If the whole railing sways, or the baluster is cracked, this is a different job.


How a stair baluster is held in place
A baluster, also called a spindle, is a vertical post between the stair tread and the handrail. It does not carry the railing. The newel posts and the rail do that. But the balusters fill the open space so a child can't slip through. The spaces between balusters are typically designed so a 4-inch sphere won't pass through. That design rule is one reason a missing or loose baluster matters.
Wood balusters are usually fixed at both ends. At the top, the end often sits in a shallow hole or groove under the handrail, held with glue and a small nail. At the bottom, a round dowel often fits into a hole in the tread. Some stairs use a square bottom set in a channel called a shoe rail, with filler blocks between balusters. When glue dries out or wood shrinks, one end gets a small gap, and the baluster rattles or spins.
Why balusters work loose
The baluster rattles but looks fully seated.
You can see a sliver of daylight at the top or bottom.
The baluster spins when you twist it.
The square bottom slides back and forth.
The rail or newel post moves, so every baluster moves with it.
Glue and nails won't make it safe; replace it.
| You notice | Likely cause | Start at |
|---|---|---|
| Not sure where it moves | Wiggle and twist to find the loose end | Step 1 |
| Top moves but there's no gap | Work wood glue into the joint | Step 2 |
| Visible gap at top or bottom | Tap in a glued shim and trim it | Step 3 |
| Glue alone won't hold it | Pre-drill and toenail a finish nail | Step 4 |
| Bottom loose, shoe rail or metal spindle | Trim-head screw, filler block or epoxy | Step 5 |
| Joint is solid | Fill, touch up and let it cure | Step 6 |
Let's fix it
- Find the loose endPut on safety glasses. Hold the baluster in the middle and twist it gently, then rock it side to side. Watch the top, where it meets the handrail, and the bottom, where it meets the tread. A loose end shows a small gap that opens and closes, or a squeak or click. If the baluster spins freely, the bottom dowel is often loose in its hole. Now push the handrail itself. If the rail or the newel post moves, stop here and fix the railing first. Also look along the baluster for cracks. A cracked or split baluster should be replaced, not glued. Mark the loose joint with a small piece of painter's tape so you don't lose track.

- Protect the finish and glue the jointPut painter's tape on the handrail and baluster around the joint, so squeeze-out wipes off cleanly. Use a yellow wood glue, such as Titebond. Push the baluster to one side to open the joint slightly. Work glue into the gap with the bottle tip, a toothpick or a thin putty knife. Rock the baluster back and forth a few times to spread it, then push it back into place. Wipe off squeeze-out right away with a damp rag. If the baluster is tight once the glue sets and has no gap, you may be done. Let it clamp or sit for the time the label gives, often 30 to 60 minutes. Don't lean on it or test it hard until the full cure time on the label has passed.

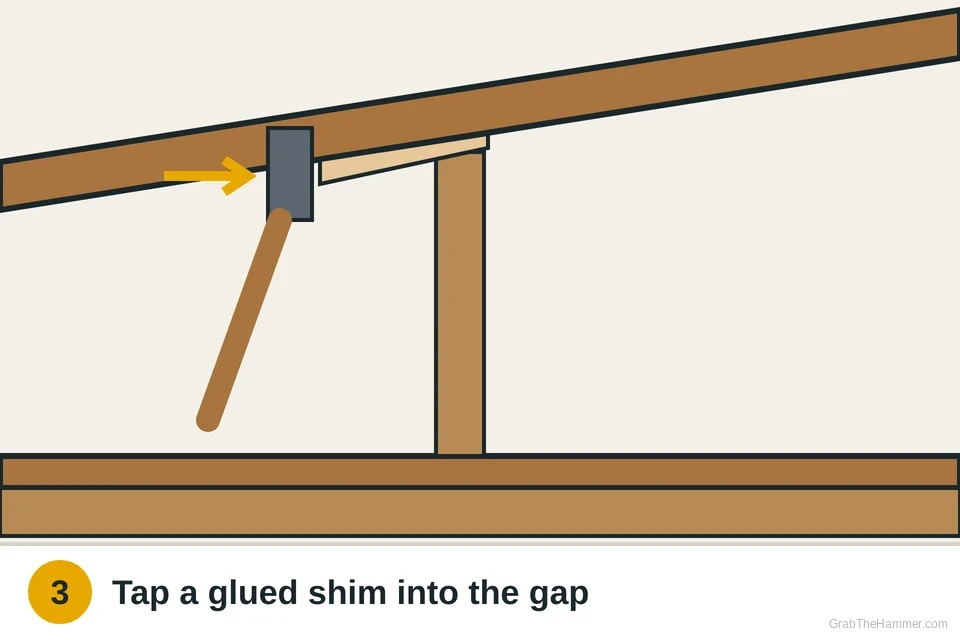
- Tap a glued shim into any gapIf you can see a gap, fill it with wood. Use a thin wood shim or a sliver of hardwood veneer. Coat both faces with wood glue. Slide the thin end into the gap between the baluster and the rail, or the tread. Hold a small scrap block against the shim if the hammer might hit the finish. Tap it in with light, controlled taps from a 16-ounce claw hammer or a smaller trim hammer. Stop as soon as the baluster feels snug. Driving too hard can split the shim, the baluster or the rail. Let the glue grab for about 30 minutes, then score the shim flush with a sharp utility knife and snap off the extra. Cut away from your hand.
- Pin the joint with a finish nailIf glue alone won't hold it, pin the joint. Use a 1-1/2 to 2-inch finish nail. Drill a pilot hole first, slightly smaller than the nail, so the baluster won't split. Start about an inch below the top, on the side that faces the wall or the upstairs, and angle up into the rail. This angled nail is called a toenail; see how to toenail. Drive it with controlled taps until the head is about 1/8 inch proud. Then put a nail set on the head and tap it about 1/16 inch below the surface. That way the hammer never touches the wood. If you're new to this, read how to use a hammer first.

- Fix a loose bottom, shoe rail or metal spindleFor a dowel bottom that spins, work glue around the dowel as in Step 2. Then pin it from the side, low on the baluster, with a toenail into the tread or a trim-head screw. Trim-head screws have a small head that a putty dab hides. Pre-drill so the wood won't split, and stop when the head sits just below the surface. For a square bottom in a shoe rail, check for a missing filler block. Cut a new one to fit, glue it and tack it with a small brad. For metal balusters, look for a small set screw in the base shoe and tighten it with a hex key. If the bottom is loose in the tread, some makers suggest epoxy; follow the label.

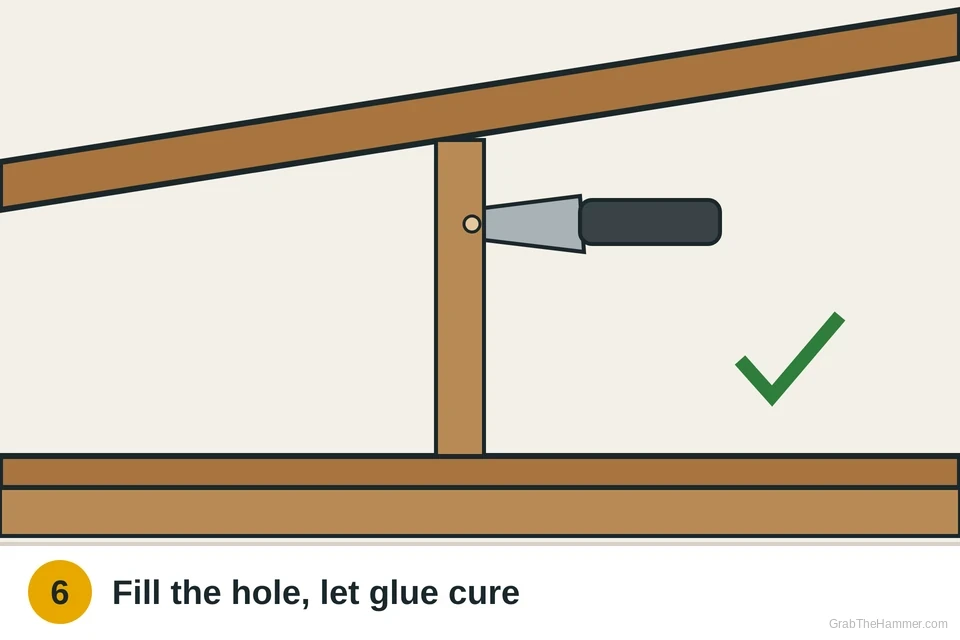
- Fill, touch up and let it curePress wood filler or a matching wax stick into the nail or screw hole with a putty knife. Scrape it flush. For painted balusters, let the filler dry, sand it lightly, and dab on matching paint. For stained wood, a colored wax stick or a stain marker usually blends best; see filling nail holes in trim. Peel off the tape. Now wait. Leave the rail alone for the full cure time on the glue label, often about 24 hours before the joint takes stress. Then twist the baluster again. It should feel solid, with no click or gap. If it still moves, repeat Steps 3 and 4. If it moves after that, call a carpenter.
Watch it done
- The baluster doesn't rattle, click or spin when you twist it
- There's no visible gap at the top or bottom
- The nail or screw head is hidden under filler
- The handrail itself stays still when you push it
Still moves? Check the handrail and newel post, then repeat the shim and nail steps.
If it works loose again
If the same baluster loosens again after a season, the gap may be larger than a shim can fill, or the nail missed the rail. Try a trim-head screw in a fresh pilot hole. If many balusters loosen at once, the handrail is probably moving. Follow the guide to tightening a loose stair railing.
If the stairs also creak, the treads may be loose too. See fixing squeaky stairs.
If a baluster cracks or breaks, don't keep gluing it. A carpenter can replace it and match an older style. Until then, block that side of the stair.
What a pro typically charges (a rough estimate; prices vary by area): A handyman typically charges about $75–$200 to secure a few loose balusters. Replacing a baluster often costs more, depending on matching the style. Parts are usually $5–25.
Find a carpenter near you