Fill nail holes in trim before painting
Nail holes in painted trim disappear when the nail head sits just below the surface, the hole is filled slightly proud, and the filler is sanded flush and primed before painting. The step people skip is setting the nail. A head that's flush or sticking up will show through any amount of filler and paint.

Why setting the nail matters
Trim is usually put up with finish nails, which have small heads meant to be driven just below the surface with a nail set. That leaves a small dimple for filler to sit in. Leave the head flush and there's no room for filler, so the head shows through the paint or rusts through it later. Most brad nailers already set the head below the surface.
For trim you'll paint, use a paintable wood filler or lightweight spackle. For stained or clear-finished wood, use a color-matched wood putty after the finish is on, since most fillers don't take stain the way wood does.
Why nail holes show
There's no room for filler, and the head shows or rusts through.
A single fill can sink as it dries.
Filler absorbs paint differently from the wood.
Stain-grade wood needs a color-matched putty.
| Trim finish | Use | When |
|---|---|---|
| Painted trim | Paintable wood filler or lightweight spackle | Before priming. |
| Stained or clear-finished trim | Color-matched wood putty | After the final finish. |
| Deep dents or larger holes | Two-part wood filler | Before priming; sand after it cures. |
Let's fix it
- Set the nailsHold the nail set on each nail head and tap it with the hammer until the head sits about 1/16 inch below the surface.

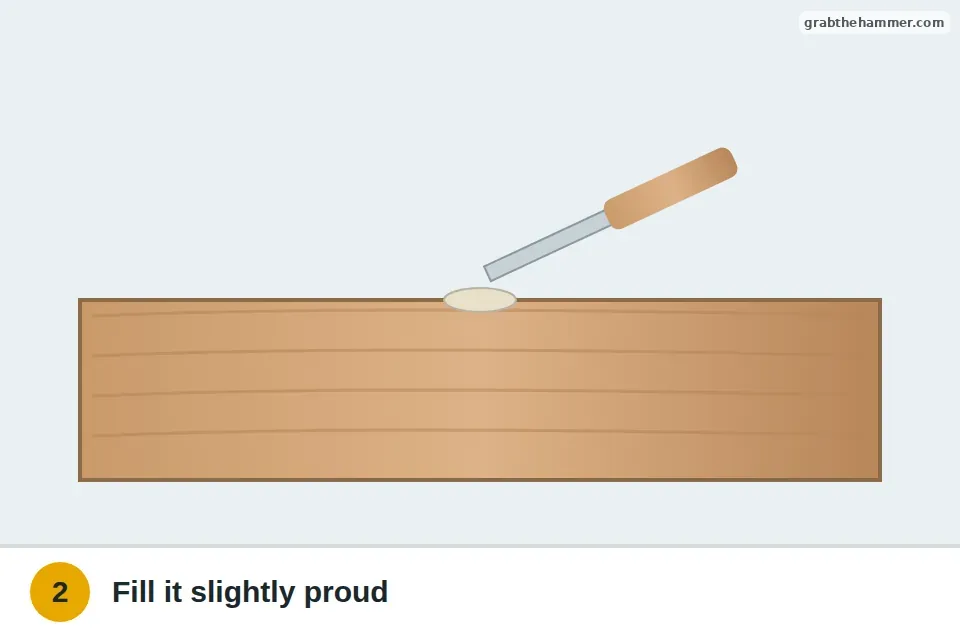
- Fill each holePress filler into the hole with a putty knife, leaving it slightly raised. Most fillers shrink a little as they dry.
- Let it dryGive it the drying time on the container. Deeper holes may need a second fill.

- Sand it flushSand lightly with a fine sponge until the filler is flush with the trim, then wipe off the dust with a damp cloth.

- Prime and paintSpot-prime the filled holes, then paint. The primer keeps the filler from showing as a dull spot.

If you can still see the holes
If you can see a dimple after painting, fill it again, sand, spot-prime and repaint.
If a ring shows around each hole, the filler wasn't sanded flush or wasn't primed. Sand, prime and repaint that spot.
What a pro typically charges (a rough estimate; prices vary by area): Painters usually include trim prep in their price; small touch-up jobs often run $100–$300.
Related trim jobs
Nail hole questions
Wood filler or spackle for trim?
Either works on painted trim. Wood filler is harder and better for dents and edges; lightweight spackle is easy for small nail holes.
How deep should I set a nail?
About 1/16 inch below the surface, enough to leave a small dimple for the filler.
Can I paint over filler without primer?
It often shows as a dull spot. A quick spot-prime keeps the finish even.
Why do my filled holes crack?
The nail head wasn't set, or the filler went on too thick in one coat. Set the nail and fill in thinner layers.
Still stuck? Ask us
Tell us what you're seeing and what you've tried. We read every question, and the ones that will help other people get answered on this page.