Cut a hole in drywall for an old-work electrical box
An old-work box, also called a remodel box, clamps into a hole in finished drywall, so you don't have to open the whole wall. The hole has to be the right size, between studs, and clear of pipes and cables hiding in the cavity. A drywall saw makes the cut easy; the care goes into checking first. Turn the power off and test before you cut anywhere near wiring.


How an old-work box holds, and what hides behind drywall
A new-work box nails to a stud before the drywall goes up. An old-work box is made for finished walls. It slides into a hole in the drywall, and when you turn its screws, flip-out wings or tabs swing behind the drywall and clamp it from the back. A flange on the front stops it from falling in. That only works if the hole is a snug fit, and if there's open space behind it. So the box sits between studs, not on one, and the cut has to be close to the template size. Fine Homebuilding says to test the fit and never force a box in; trim the hole a little at a time instead.
Standard drywall is usually 1/2 inch thick, and the cavity behind it holds more than air. Cables often run sideways through holes in the studs, about outlet height, and up the side of a stud to switches. Water pipes, drains and vents rise in walls near kitchens and bathrooms, and heating ducts can sit in any interior wall. Exterior walls hold insulation, and some walls have a horizontal fire block partway up. A drywall saw cuts by stabbing and sawing, so keeping the blade shallow and looking first are what keep you from hitting anything.
What can go wrong when you cut a box hole
A saw can nick a cable that's still powered.
The box has no room for its wings.
The box won't fit, or the saw hits it.
The wings can't grab, and the cover plate won't hide it.
Cracks and needs a different method.
| You notice | Likely cause | Start at |
|---|---|---|
| Wiring may be nearby | Breaker off, test with a voltage tester | Step 1 |
| Don't know where the studs are | Find and mark them, pick a gap | Step 2 |
| Not sure what's inside the wall | Look from below, cut a small hole first | Step 3 |
| Ready to mark the hole | Trace the template level and plumb | Step 4 |
| Ready to cut the opening | Score, then saw with the blade shallow | Step 5 |
| Box is tight or loose | Trim a little, test fit, then wire | Step 6 |
Let's fix it
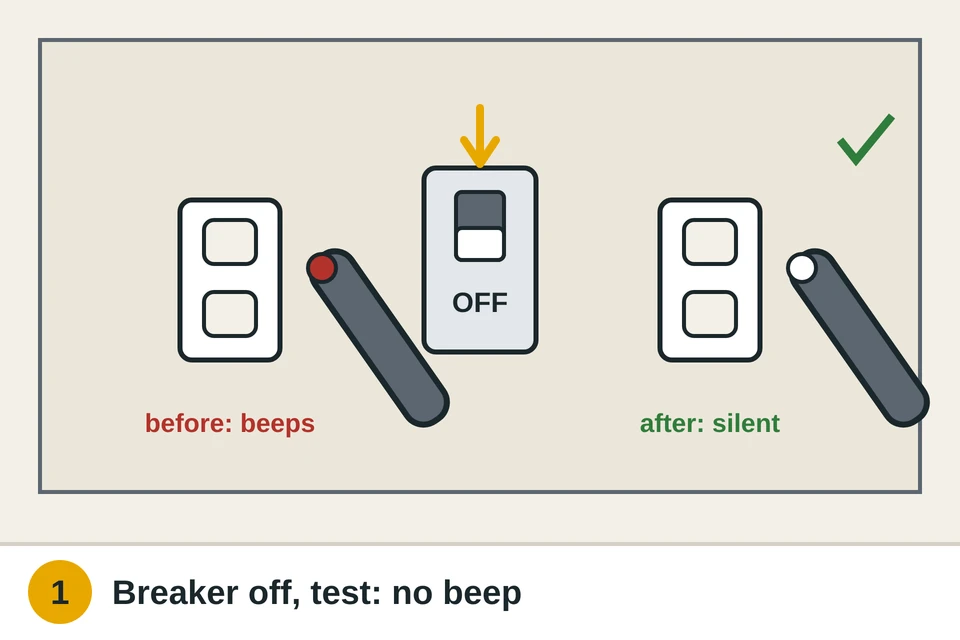
- Turn the breaker off and test for powerLook for outlets, switches or lights on both sides of the wall near your spot. Cables to them may run right through the area you'll cut. At the breaker panel, switch off the breaker that feeds them. Only flip the breaker; don't remove the panel cover. If the labels aren't clear, turn off the likely ones until those outlets go dead. Then check with a non-contact voltage tester. Test it first on an outlet you know is live; it should beep or light. Now hold its tip to each outlet slot and switch on the wall. It should stay silent. Run it slowly along the wall over your spot, too. Leave a note on the panel so nobody turns the breaker back on. If the tester still beeps, stop and find the right breaker.
- Find the studs and pick your spotSlide a stud finder slowly across the wall at the height you want the box. Mark both edges of each stud with painter's tape. Studs are usually about 16 inches apart, center to center, sometimes 24. Our stud-finding guide has backup tricks. Pick a spot in the open space between two studs. Leave at least an inch or two between the outline and the stud edge, so the box's wings have room to swing open. For an outlet, match the height of the others in the room; measure from the floor to the bottom of an existing box. For a switch, match the other switches. Avoid the area right above or below an existing outlet or switch, since its cable often runs there.

- Check for pipes, wires and ducts firstThink about what's above and below this wall. A bathroom, kitchen or laundry overhead, or a sink on the other side, often means pipes in the cavity. If you can get to the basement or attic, look for pipes, cables or ducts going up into this wall. Then make a small inspection hole in the center of your planned outline, where the box will cover it. Push the drywall saw tip in gently and cut a hole about 1 inch square, or drill a 1/2 inch hole with a spade bit just through the drywall. Shine a flashlight in and look. Bend a stiff wire into an L, push it through, and spin it to feel for anything in the way. If you find a pipe, cable, duct or fire block where the box would go, move your spot.

- Trace the box outline, level and plumbMost old-work boxes come with a paper template, or the outline is printed on the box. If yours has none, trace around the box's body, not its front flange or wings. The flange must sit on the face of the drywall, so the hole has to be smaller than the flange. Hold the template at your height with the inspection hole inside it. Set a small level on the edge so the long sides are plumb, straight up and down. Then trace it with a sharp pencil. Some boxes have small bumps at the top and bottom for the mounting screws; include those notches if the instructions say so. A crooked outline means a crooked cover plate, so take a minute to get it straight.

- Score the line, then cut with the drywall sawPut on safety glasses and a dust mask. Run a sharp utility knife along the traced line two or three times. Scoring cuts the face paper, so the edge stays crisp and doesn't tear. Now push the drywall saw tip through at a corner, or start it from your inspection hole. Hold the saw at a low angle so only about 1/2 inch of blade goes past the face, just through the drywall. Saw along the inside of the line with short, steady strokes. Don't stab hard or go deep; that's when a blade reaches a cable or pipe. Cut one side, then the next. Keep a hand on the center piece near the end so it doesn't fall into the wall. If the saw catches on something hard, stop and look before going on.

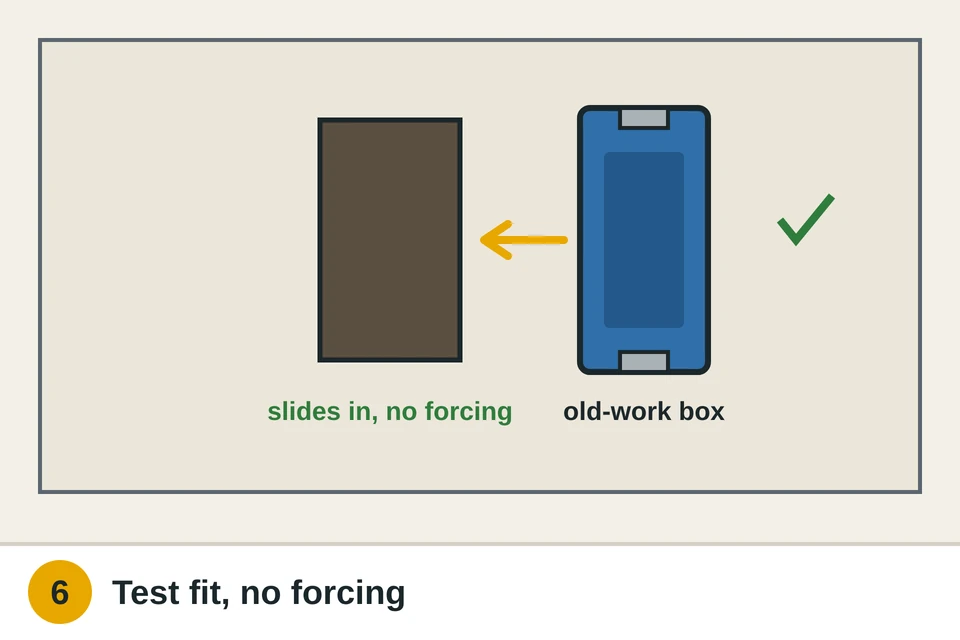
- Test fit the box, then hand off the wiringPush the old-work box into the hole. It should slide in with light pressure, with the flange flat on the wall and no big gaps. Don't force it, because that can crack the drywall around the hole. If it's tight, shave the edge with a utility knife or a drywall rasp a little at a time, and test again. Then take the box back out. The wings only go on after the cable is in the box, so stop here unless the wiring is done. To swap a device on an existing circuit, our guide to replacing an outlet walks through it, with the breaker off and wires tested. Running new cable to a new box is a job for a licensed electrician, and may need a permit.
Watch it done
- The voltage tester stayed silent the whole time you cut
- The hole sits between studs with clear space behind it
- The box slides in snugly, with its flange flat on the wall
- The edges are clean enough that a cover plate will hide them
If something goes wrong
If you hit a pipe and see water, turn off the water at the main shutoff right away and call a plumber. If the saw nicked a cable, leave the breaker off, don't touch it, and call an electrician; a damaged cable needs a proper repair, not tape.
If the hole is in the wrong place or too big, it's easy to close. Our guide to patching a hole in drywall shows how to set in a patch, and matching drywall texture helps it disappear on a textured wall.
If the finished box later feels wobbly in the wall, the wings may not have clamped or the drywall around them crumbled. Our guide to a loose outlet in the wall covers the fixes, with the breaker off and tested first.
What a pro typically charges (a rough estimate; prices vary by area): An electrician typically charges about $150–$350 to add an outlet on an existing circuit with an old-work box, more for long cable runs or a new circuit. A drywall saw costs about $8–20.
Find an electrician near you